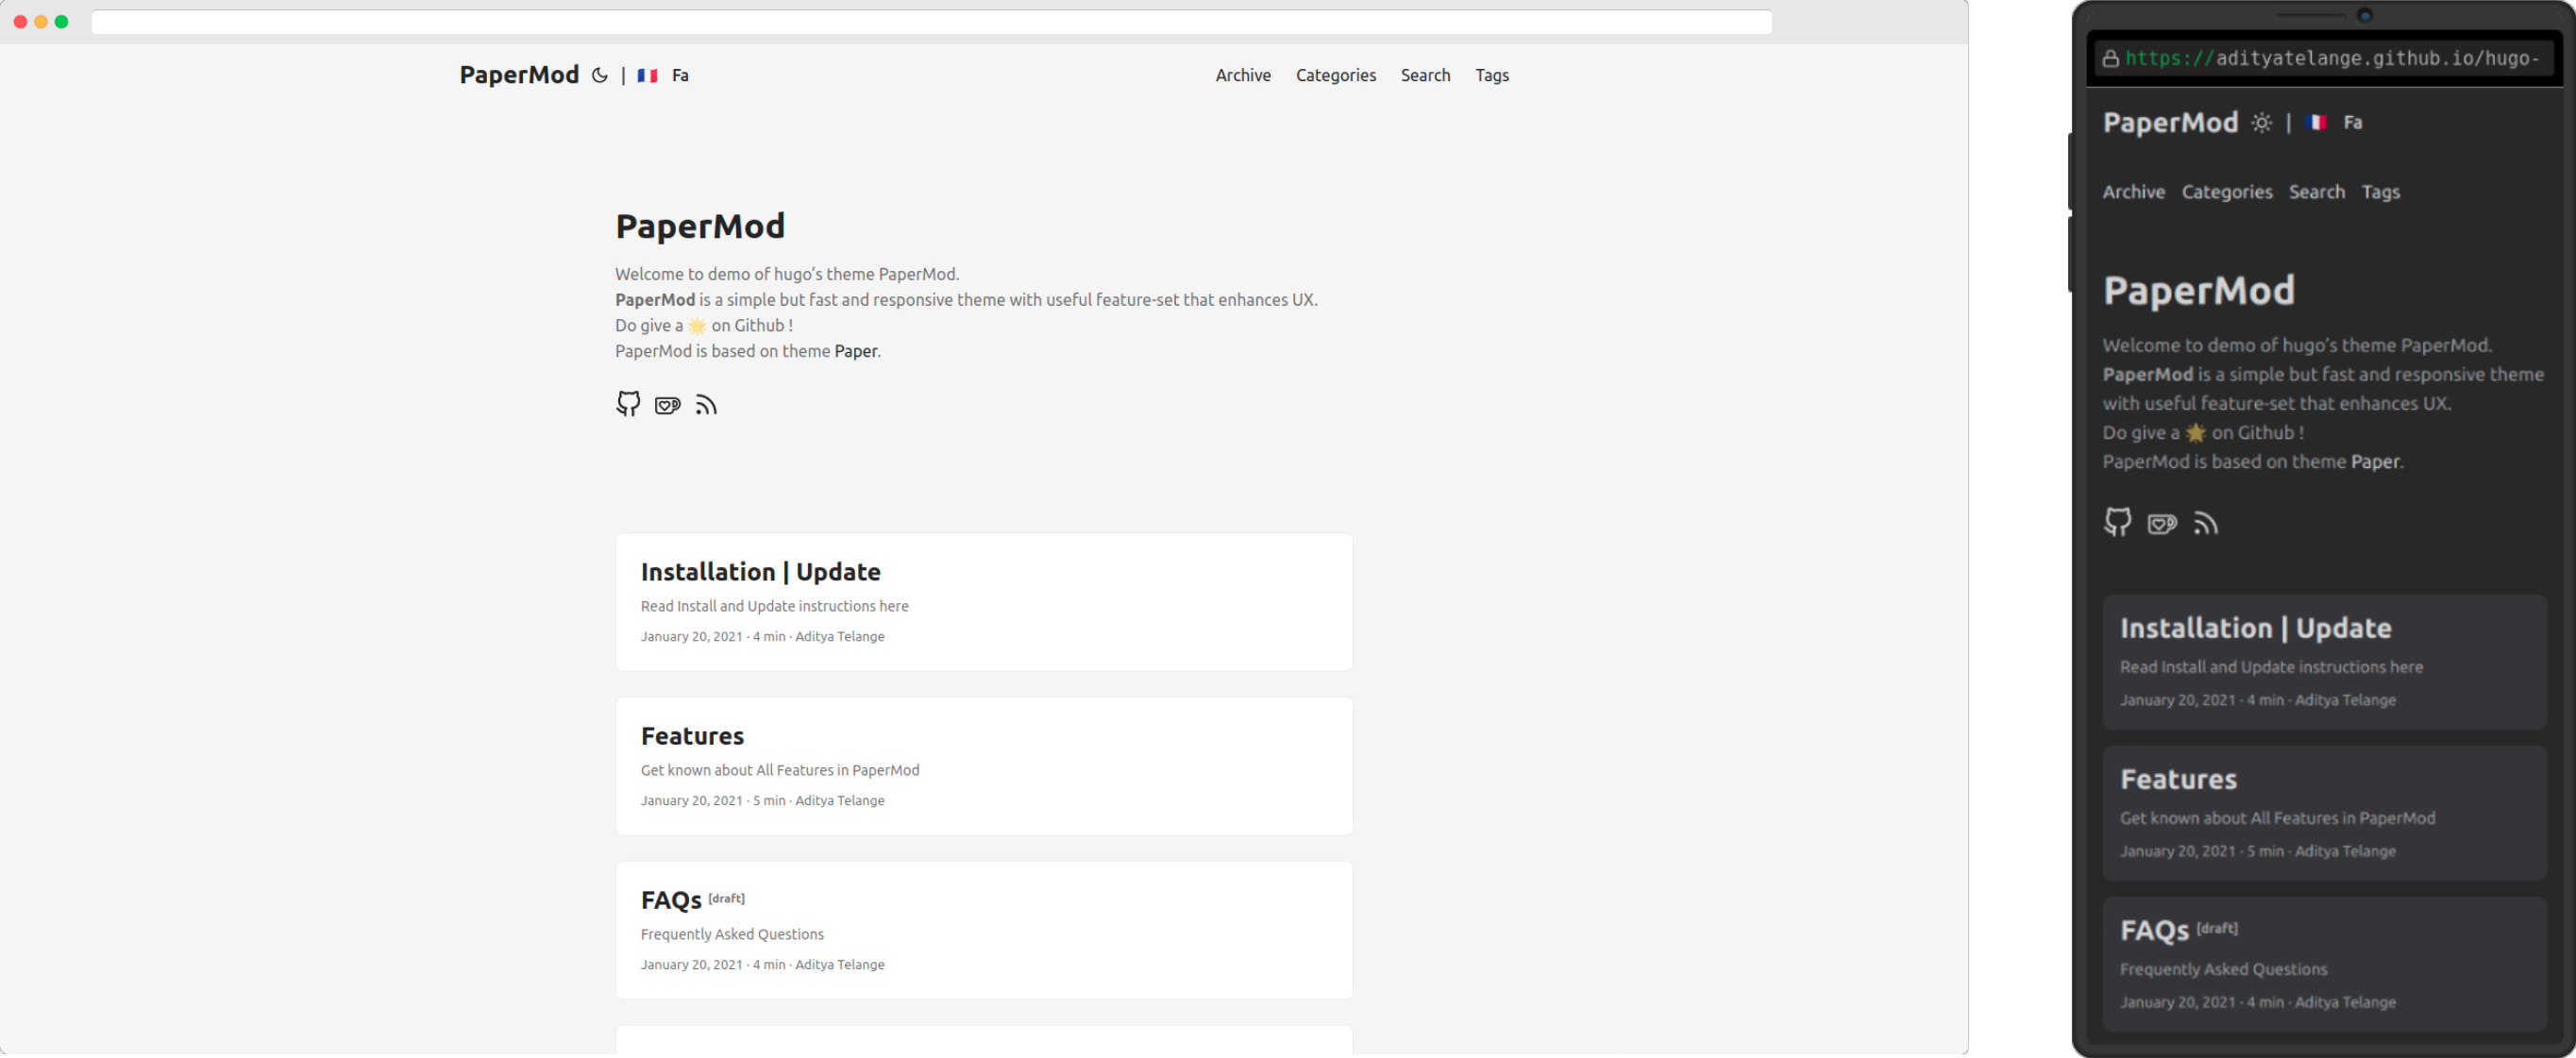
I’ve wanted to start blogging for the longest time. Back in the day, I used WordPress, which was super easy to use, but I kept hearing about all the security issues. So, I switched to Ghost and instantly loved how simple it was—especially being able to write in Markdown instead of dealing with a clunky WYSIWYG editor.
Eventually, I made the jump to Hugo. It just made sense. The performance is amazing, backups are a breeze with Git, and I site hosting was made easy.
After setting up Hugo, I went with the PaperModX theme. It looked great right out of the box and had most of what I needed. The only thing that bugged me was how it handled images in posts. I’m not uploading huge, high-res images, but I do want them to maintain the quality and load fast. That’s when I started digging into how I could tweak the theme to handle images better.
One of the cool things about Hugo is that it has built-in image processing. PaperModX already uses this for things like compressing and generating image sets for article cover images. But I wanted to take it further and make sure all the images in my posts were optimized for the web.
To do this, I had to extend the theme. Turns out, it’s not as scary as it sounds. I just needed a modified copy of the render-image.html file and place it into the the layouts/_default/_markup/ folder.
Here’s what I did: on line 21 of the render-image.html file, I added the $img.Process function. This let me convert images to the WebP format, which is way better for the web because it’s smaller and faster to load.
Here’s the code I added:
| |
This was a simple way to start learning how to customize Hugo themes. I’m excited to keep exploring and learning more!
